Printing on Burlap

This is something that I've seen done lots of times but never tried myself. Then I saw some really pretty pillows embroidered with Mr and Mrs. I love the pillows. I do not embroider. So I pulled up the instructions for printing on burlap.

First, cut a piece of FREEZER paper to the same size as a sheet of printer paper. Note: freezer paper is not wax paper or parchment paper. Do not buy those. They won't work. Also, freezer paper is not plastic wrap. I sent my eager to help hubby to walmart to look for freezer paper while he was getting some other things. He comes home. "They didn't have freezer paper, but this says it is good for freezing." It was a box of plastic wrap. It's the thought that counts, and to his credit, the box did say good for freezing. So after I returned that to Walmart and went to Publix, I made it home with FREEZER paper. Anyway...

Iron your freezer paper sheet wax side down onto the burlap. The iron needs to be pretty hot. I made that mistake the first try and the paper did not stick to the burlap and I jammed my machine.

After cutting the burlap out, you should have a sheet of burlap with a smooth backing. Make sure the edges and corners are really on well.

Run it through your machine so the ink prints on the burlap. For my machine, I put the sheet burlap side down. Change the printer settings to high quality and photo paper. Then hit print.

Then you simply peel the paper off the burlap. You can reuse the same sheet of freezer paper until it no longer sticks.
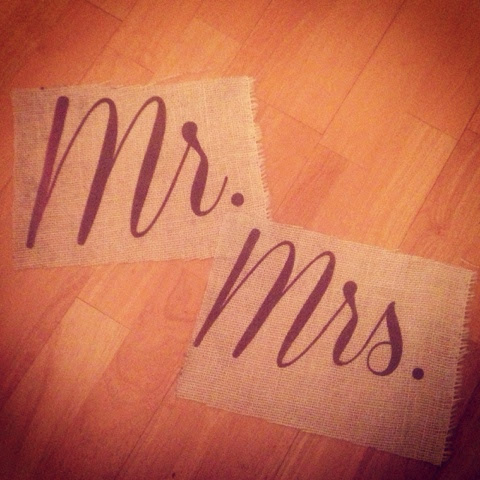
These are eventually going to be the pillows for our master bedroom re-do. I am thrilled with how easy this was! I can't wait to put the pillows together :)

Comments
Post a Comment